There are quite a few uptime monitoring services out there, unfortunately most of them require a monthly subscription. The few free ones that actually seem kinda reliable don’t offer much control over how your website is checked. My favorite monitoring service used to be Pingdom but they recently discontinued their free plan which forced me to look for something new. After some experimentation I was able to setup Apify and Integromat in way that suited my monitoring needs.
First here’s a small introduction of both services:
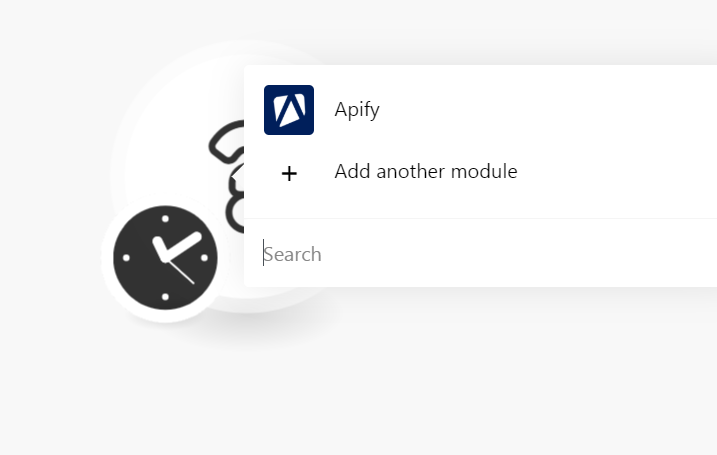
Apify
Apify is a “web scraping and automation platform”. Basically it allows you to crawl any website and convert the available information into an easy to consume API. For example Google doesn’t have an official API for fetching search results so the only option is to scrape the HTML from Google SERPs and extract the data you need. Apify can easily automate this process for you. In our case we will configure it to crawl our own website to see if it is online.
Integromat
This service is an online automation platform. It allows you to define actions that are performed on certain triggers. For example you can define a scenario in which a new task is created in a todo-list app as soon as someone submits a Google form. In other words it integrates services that don’t talk to each other directly.
For our scenario we will be using Integromat to send notifications when Apify notices a problem.
Process Overview
Here is a brief overview of how this is going to work:
- Apify will crawl a page on your website at regular intervals and look for a keyword
- A module in Integromat will receive the results at the end of each crawl
- A filter will check the crawl data to see if the website is offline or the required keyword is not found
- If the website is offline, the filter will let a second Integromat module run and send you a notification
Let’s get started!
Setup Apify
- Signup for a free Apify account or login if you have an existing one
- Go to the crawlers section in your account and create a new crawler
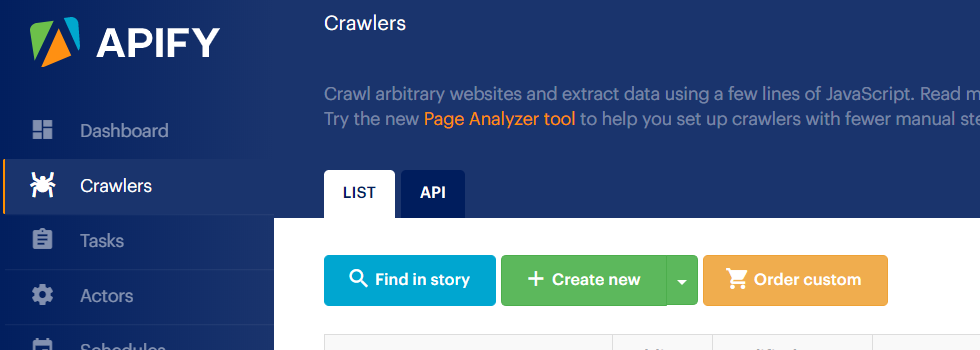
- In the basic settings tab add a name for your crawler
- Enter the URL that you want to check in the “Start URLs” field
- Remove everything from the “Clickable elements” field because we don’t want the crawler to move around on the website. We just want to check a single page.

- In the “Page function” area, add the following code. It will check the body of the page for the keyword “YOUR KEYWORD HERE”. Make sure you replace this with your own keyword.
function pageFunction(context) {
    // called on every page the crawler visits, use it to extract data from it
    var $ = context.jQuery;
    var result = {
        title: $('title').text(),
        online: $('body').text().indexOf('YOUR KEYWORD HERE') !== -1 ? '1' : '0'
    };
    return result;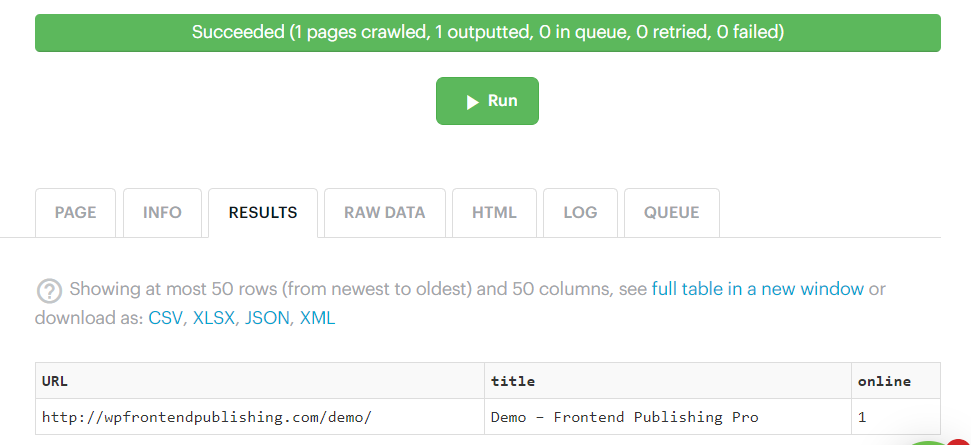
}- Switch to the advanced settings tab
- Set “Max pages per crawl” to one because we want to check a single page only
- Save the crawler settings
- Switch to the Run Console tab
- Click the Run button and make sure correct values are shown under results
- Select “Schedules” from the sidebar and click “Create New”

- In the “Cron expression” field under the “Settings” tab enter @hourly and save settings
- Switch to the “Crawlers” tab, add your crawler and save. Now your new crawler will run every hour.
Setup Integromat
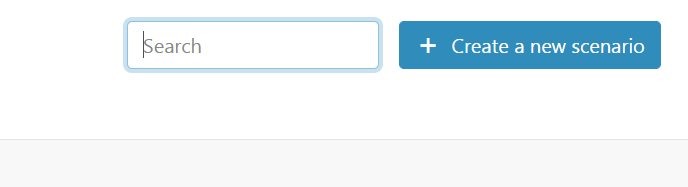
- Signup for a free Integromat account or login if you have an existing one
- Click the create new scenario button on the top right corner of the screen
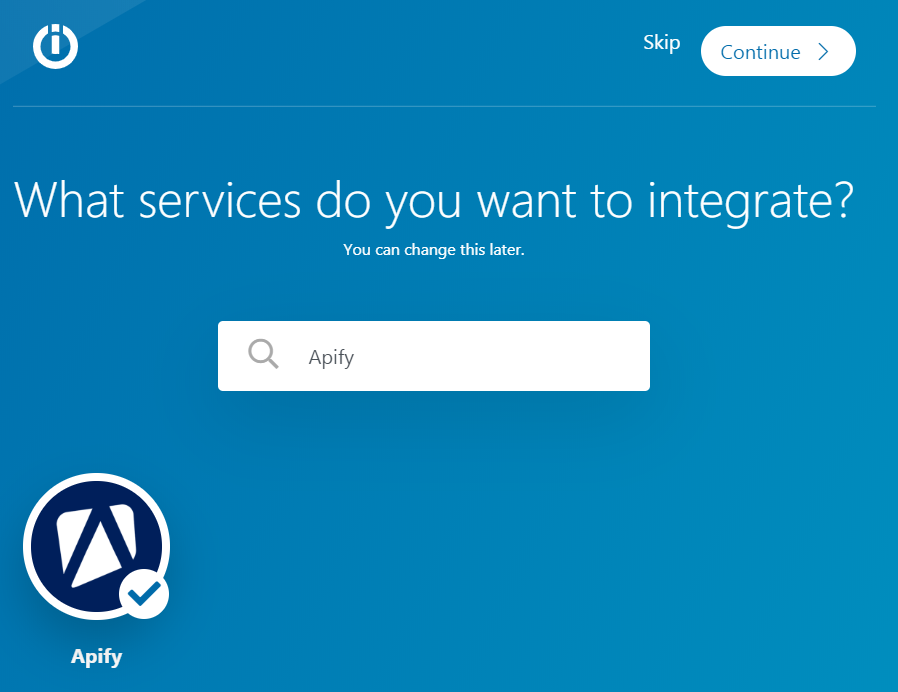
- You will be asked “What services do you want to integrate?”. Select Apify and press continue
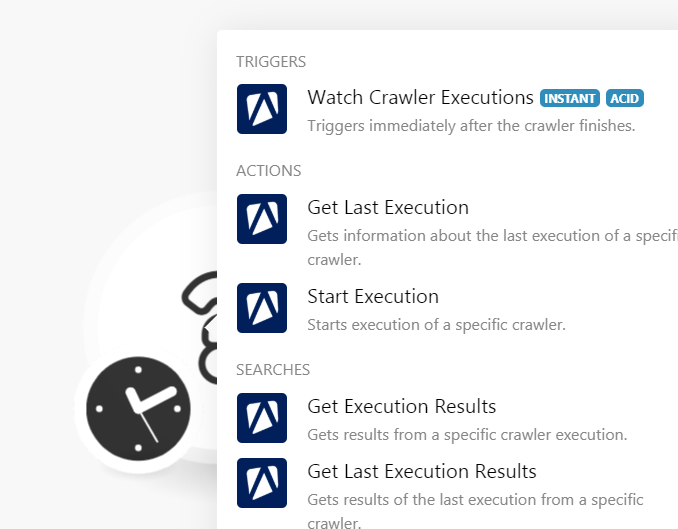
- Click the question mark in the middle of the screen and select Apify
- Select “Watch Crawler Executions” under triggers
- When prompted for a webhook click the “Add” button
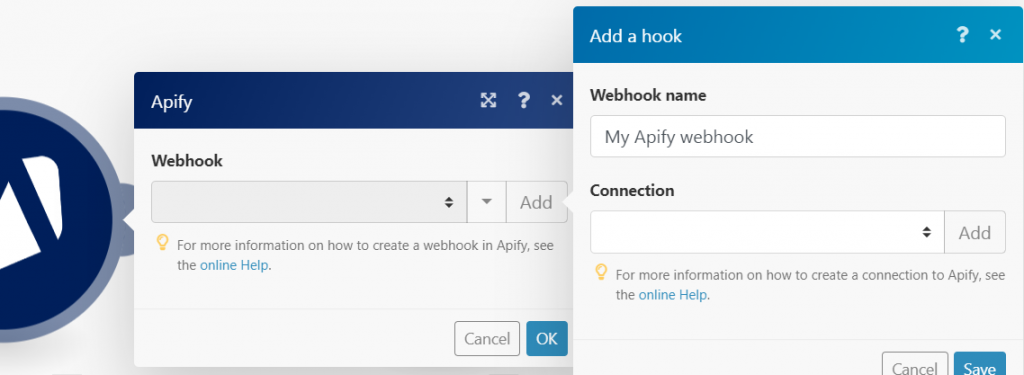
- In the “Add a hook” popup, click the “Add” button under “Connection”
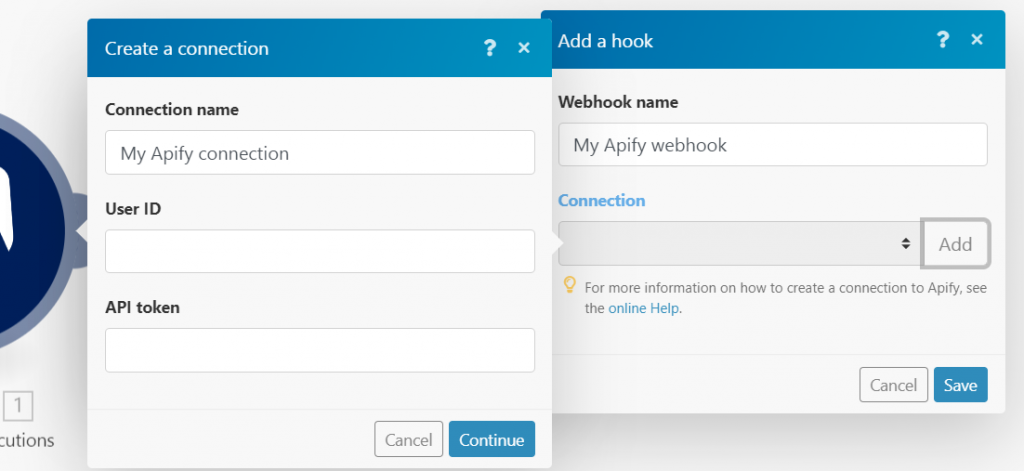
- In the “Create a connection” popup add your Apify credentials and click continue. You can get the “User ID” and “API Token” under
Account > Integrationsin your Apify account.
- Once a connection has been added, select the Apify crawler you created in the previous step from the “Crawler” dropdown
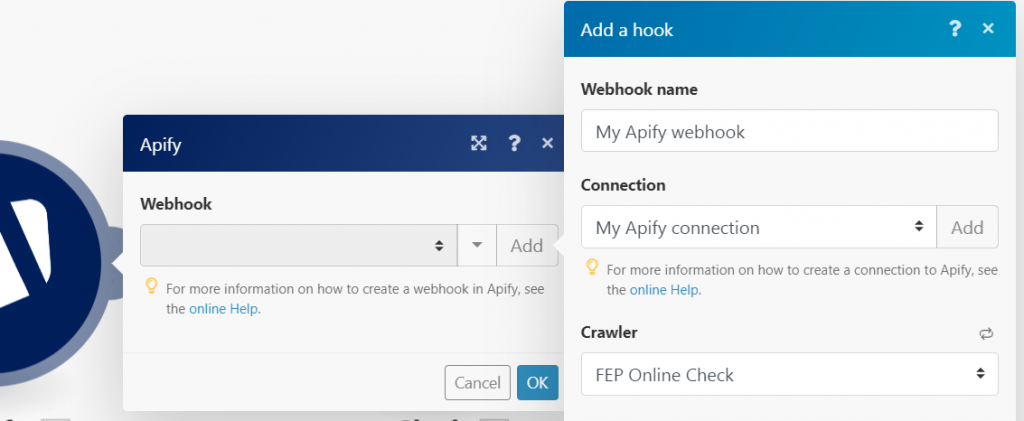
- Click “Save” in the “Add a hook” popup
- Click “OK” in the main Apify popup
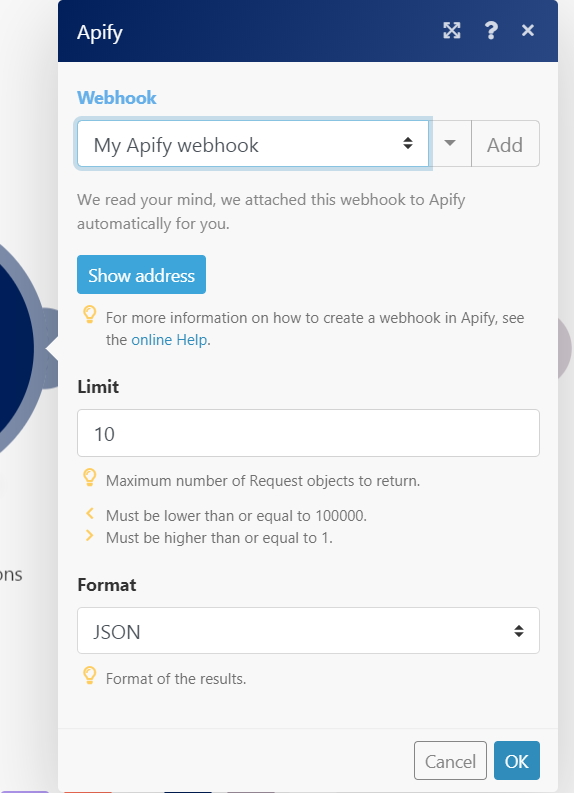
- The new webhook is now ready. Whew!
You have now successfully created a listener for your Apify crawls. Now you need to add an action for when a crawl finishes. For this you need to add another module. Here you have the choice to add whatever module you like. You can choose to add a Gmail module to send notifications to your inbox. I’m going to skip the instructions for this part since the on-screen instructions are pretty self-explanatory. Personally I chose Slack as my second module because I was not comfortable giving a third-part access to my email.
Once you have added the second module, click the three dots connecting the two modules and add these values:
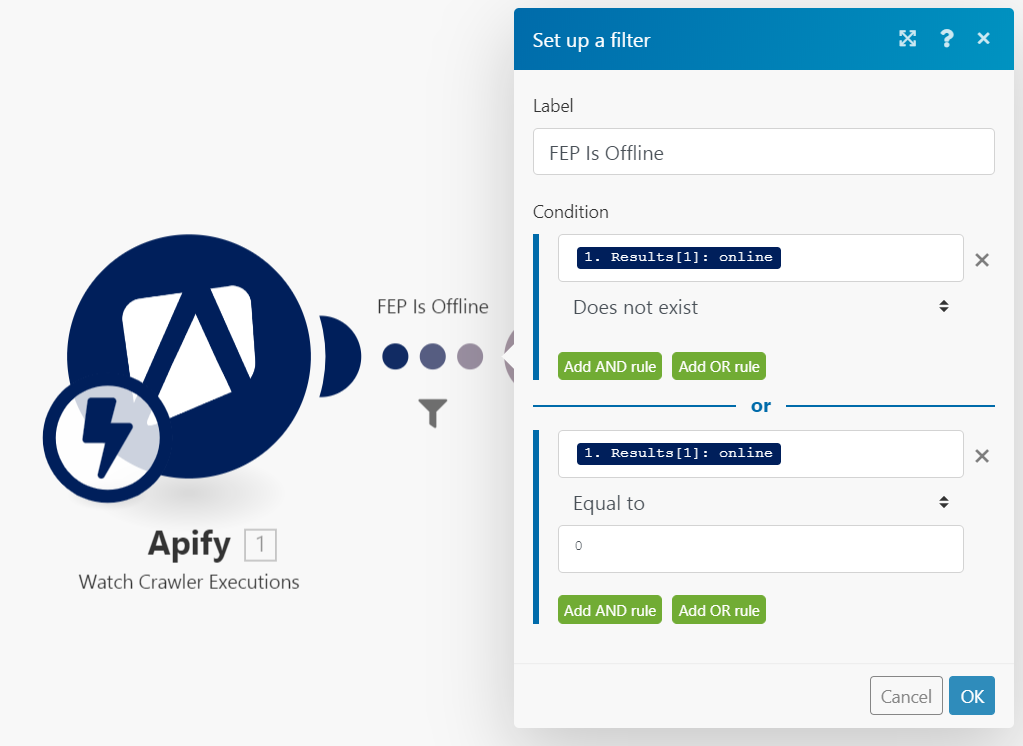
This means that you only want the second module to run if the crawl data sent by Apify does not have the ‘online’ attribute (for server timeout errors etc), or there is an ‘online’ attribute available but its value is equal to 0 (the page loaded okay but the keyword was not found).
Testing
Open your Apify crawler settings and save an inaccessible url as the “Start URLs” field value. Now when you run a new crawl, it will predictably fail, the second module in Integromat will get triggered and you will receive a new notification!
That’s all! Your website is now being monitored round the clock and you don’t have to pay a single dollar. Feel free to explore the two services mentioned in this article to find more awesome options and use cases.
Leave a reply